A successful exterior painting project begins long before the first brush touches your siding. Proper exterior painting preparation is the foundation that determines whether your new paint job will look professional and last for years, or begin peeling and fading within months.
The difference between a mediocre paint job and an exceptional one lies in the preparation work. When surfaces are properly cleaned, repaired, and primed, paint adheres better, creates a smoother finish, and provides longer-lasting protection against New Jersey’s harsh weather conditions. Skipping preparation steps might save time initially, but it often leads to costly repairs and premature repainting.
At Gemstar Painting Contractors, we’ve spent over 30 years perfecting our exterior painting preparation process. Our experience serving homeowners across Northern New Jersey has taught us that thorough preparation is non-negotiable for achieving the beautiful, durable results our clients expect. Whether you’re planning a DIY project or hiring professionals, understanding these essential preparation steps will help ensure your home looks its best.
Step 1: Inspect Your Home’s Exterior
Before any cleaning or repair work begins, conduct a thorough inspection of your home’s exterior surfaces. Walk around your property during daylight hours, examining each side carefully for signs of wear, damage, or areas that need attention.
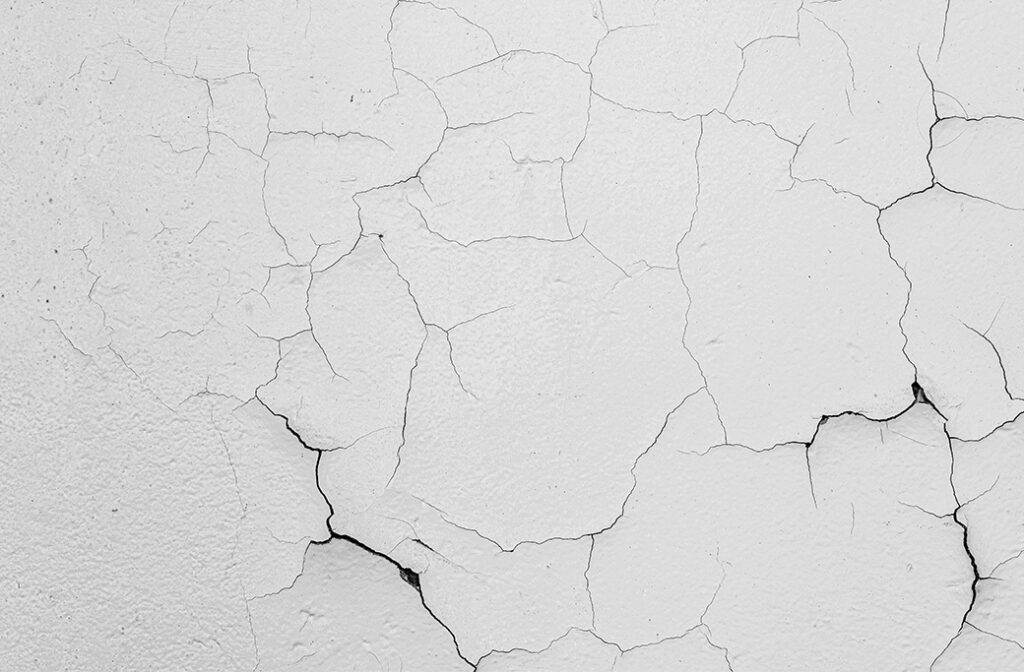
Look for peeling, cracking, or blistering paint, which indicates poor adhesion or moisture issues. These areas will need to be scraped and sanded before new paint can be applied. Pay special attention to areas that receive direct sunlight or are exposed to driving rain, as these spots typically show the most wear.
Check for mold, mildew, or water damage, particularly around gutters, downspouts, and areas with poor ventilation. Black or green discoloration on siding often indicates mold growth, which must be treated before painting to prevent it from bleeding through the new finish.
Examine your siding, trim, and caulking for loose boards, gaps, or damaged sections. Note any areas where caulking has cracked or pulled away from surfaces, as these will need fresh sealant to prevent water infiltration. Don’t forget to inspect less visible areas like the back of your home or areas partially hidden by landscaping.
Document your findings with photos or notes so you can prioritize repairs and ensure nothing gets overlooked during the preparation process.
Step 2: Clean the Surfaces Thoroughly
Clean surfaces are essential for proper paint adhesion. Dirt, dust, pollen, and other debris create a barrier between your siding and the new paint, leading to poor coverage and premature failure.
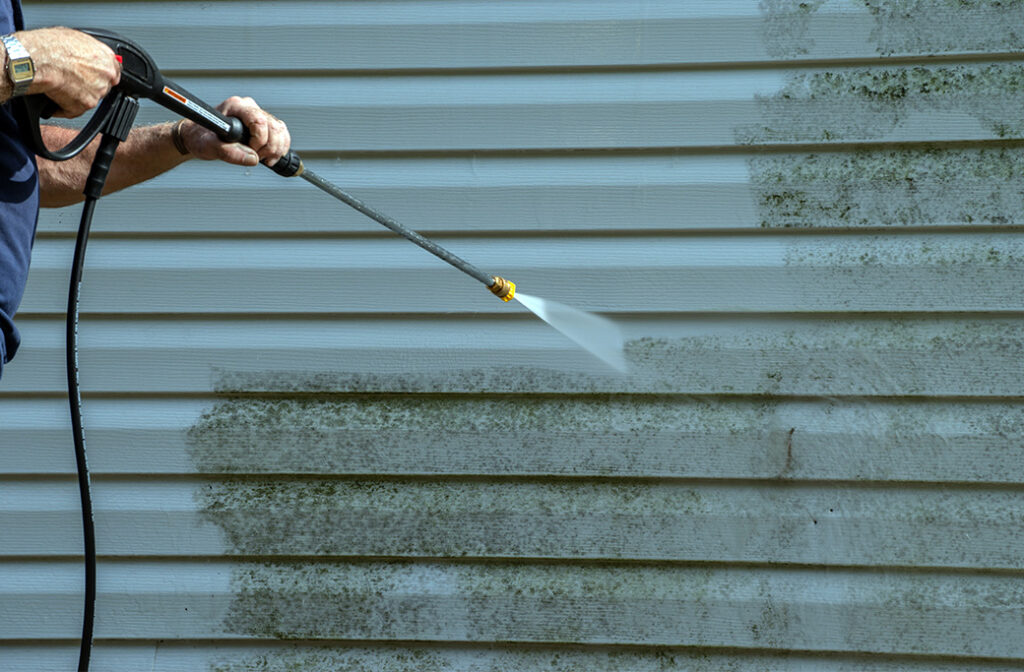
Power washing is often the most efficient method for cleaning large exterior surfaces. Use a pressure washer with appropriate PSI settings for your siding type—too much pressure can damage wood or vinyl siding. Hold the nozzle at a 45-degree angle and work from top to bottom, allowing each section to dry completely before moving to the next area.
For homes near coastal areas or in high-humidity regions of New Jersey, pay special attention to removing salt deposits and mildew. Use a mild detergent solution or specialized cleaning products designed for exterior surfaces. A mixture of water and white vinegar can effectively remove mildew stains without harsh chemicals.
Hand washing may be necessary for delicate surfaces or detailed trim work. Use a soft-bristled brush and appropriate cleaning solution, taking care not to force water into gaps or behind siding where it could cause damage.
Allow all surfaces to dry completely—typically 24 to 48 hours depending on weather conditions—before proceeding with repairs or painting. Painting over damp surfaces can trap moisture and cause paint to fail prematurely.
Step 3: Scrape, Sand, and Repair
Once surfaces are clean and dry, address any loose or peeling paint. Use a paint scraper to remove all loose material, working systematically across each surface. Be thorough—any loose paint left behind will eventually cause the new finish to fail in those areas.
After scraping, sand rough spots and glossy surfaces to create a smooth, paintable surface. Use 80-grit sandpaper for heavy work and 120-grit for final smoothing. This process, called “feathering,” helps blend repair areas with surrounding surfaces for a uniform appearance.
Fill holes, cracks, and gaps with appropriate materials. Use wood filler for wooden surfaces, caulk for gaps between trim and siding, and specialized patching compounds for other materials. Apply these materials according to manufacturer instructions and allow them to cure completely before sanding smooth.
For damaged siding or trim that cannot be repaired, replacement may be necessary. This is often the case with severely rotted wood or damaged sections that compromise the structural integrity of your home’s exterior.
Prime all bare wood, metal, or repaired areas immediately after preparation to prevent moisture absorption and ensure proper paint adhesion.
Step 4: Protect Landscaping and Surroundings
Before starting any painting work, protect your landscaping, outdoor furniture, and other items that could be damaged by paint overspray or cleaning solutions.
Cover plants, shrubs, and flower beds with lightweight drop cloths or plastic sheeting. Avoid using heavy materials that could damage delicate plants, and remove coverings daily to prevent overheating or moisture buildup that could harm your landscaping.
Protect windows, doors, and outdoor fixtures with high-quality painter’s tape and plastic sheeting or paper. Take time to ensure tape adheres properly to prevent paint from seeping underneath. Remove tape while paint is still slightly wet for clean, sharp lines.
Move or cover outdoor furniture, grills, and decorative items that could be splattered during the painting process. Even with careful application, wind can carry paint overspray farther than expected.
Step 5: Apply Primer Where Needed
Primer is essential for bare wood, metal surfaces, repaired sections, or when making drastic color changes. It creates a uniform base that helps paint adhere properly and achieve consistent color coverage.
Use a high-quality primer appropriate for your surface material and the paint you’ll be applying. Oil-based primers work well for bleeding woods like cedar or redwood, while latex primers are suitable for most other applications.
Apply primer using the same technique you’ll use for the final paint coats—brush, roller, or spray application. Pay special attention to repaired areas, bare wood, and any surfaces that have been extensively sanded.
Allow primer to cure according to manufacturer recommendations before applying paint. This typically requires 4 to 6 hours for latex primers and up to 24 hours for oil-based products, depending on temperature and humidity conditions.
Step 6: Choose the Right Paint
Selecting high-quality exterior paint designed for New Jersey’s seasonal weather extremes is essential for long-lasting results. The state’s hot, humid summers and cold, wet winters demand paint that can expand and contract without cracking or peeling.
Benjamin Moore Regal Select offers excellent durability, UV resistance, and fade protection, making it an ideal choice for New Jersey homes. This premium paint provides superior coverage and stands up to the region’s challenging weather conditions while maintaining its appearance for years.
Consider the specific needs of your home’s exterior surfaces when selecting paint. Different materials may require specialized formulations, and areas with high sun exposure might benefit from paints with enhanced UV protection.
Don’t compromise on paint quality to save money—premium paints typically provide better coverage, durability, and appearance than budget alternatives, ultimately delivering better value over time.
Step 7: When to Call the Professionals
While many homeowners can handle basic exterior painting preparation, certain situations require professional expertise. Complex repairs, multi-story homes, or extensive surface preparation may be beyond the scope of a typical DIY project.
Gemstar Painting Contractors brings over 30 years of experience to every home painting project in Northern New Jersey. Our thorough preparation process ensures your exterior paint job will look professional and provide lasting protection against the elements.
Professional painters have the tools, experience, and knowledge to handle challenging situations safely and effectively. We understand how different materials behave in New Jersey’s climate and can recommend the best approaches for your specific home.
Our comprehensive service includes all preparation work, from inspection and cleaning through repairs and priming, ensuring every step is completed to the highest standards.
Frequently Asked Questions
How long should I wait between preparation steps?
Allow adequate drying time between each step. Cleaning requires 24-48 hours of drying time, primer needs 4-24 hours depending on type, and repairs should cure according to manufacturer specifications before proceeding.
Can I skip primer if I’m using high-quality paint?
Never skip primer on bare surfaces, extensive repairs, or dramatic color changes. Even premium paints require proper primer for optimal adhesion and coverage.
What’s the best time of year for exterior painting in New Jersey?
Late spring through early fall offers the best conditions, with temperatures between 50-85°F and low humidity. Avoid painting during rainy periods or when frost is expected.
How do I know if my siding needs professional repair?
Extensive rot, structural damage, or widespread peeling may require professional assessment and repair. When in doubt, consult with experienced contractors who can evaluate the scope of work needed.
How to Prep Your Home for Exterior Painting
Proper exterior painting preparation is the key to achieving a beautiful, long-lasting finish that protects your investment and enhances your home’s curb appeal. While the process requires time and attention to detail, the results are worth the effort.
These seven essential steps—inspection, cleaning, scraping and repairs, protection, priming, paint selection, and knowing when to call professionals—form the foundation of every successful exterior painting project. Following this systematic approach helps ensure your new paint job will look great and provide years of reliable protection.
Ready to transform your home’s exterior with professional results? Contact Gemstar Painting Contractors for a free estimate. Our team of painters handles every aspect of exterior painting preparation and application, delivering the quality and durability that Northern New Jersey homeowners have trusted for over three decades.
